Have you ever been stuck on the side of the road with a dead car battery? If so, knowing how to use jumper cables can save the day. Jumper cables are essential tools that every driver should know how to use. Whether you're a seasoned mechanic or a new driver, understanding the proper techniques for jump-starting a vehicle is crucial for safety and efficiency.
Jump-starting a car may seem intimidating at first, but with the right guidance, it's a straightforward process that anyone can master. This guide will walk you through every step, ensuring you're equipped with the knowledge and confidence to handle this common automotive issue.
From understanding the basics of jumper cables to troubleshooting common problems, we'll cover everything you need to know. By the end of this article, you'll be well-prepared to assist yourself or others in a pinch.
Read also:Discover The Best Fruteria Near Me A Complete Guide To Fresh Fruit Markets
Table of Contents
- What Are Jumper Cables?
- Safety First: Preparing to Use Jumper Cables
- Step-by-Step Process to Use Jumper Cables
- Common Mistakes to Avoid
- Troubleshooting Tips
- Frequently Asked Questions
- Variations of Jumper Cables
- Alternatives to Jumper Cables
- Maintenance Tips for Jumper Cables
- Conclusion
What Are Jumper Cables?
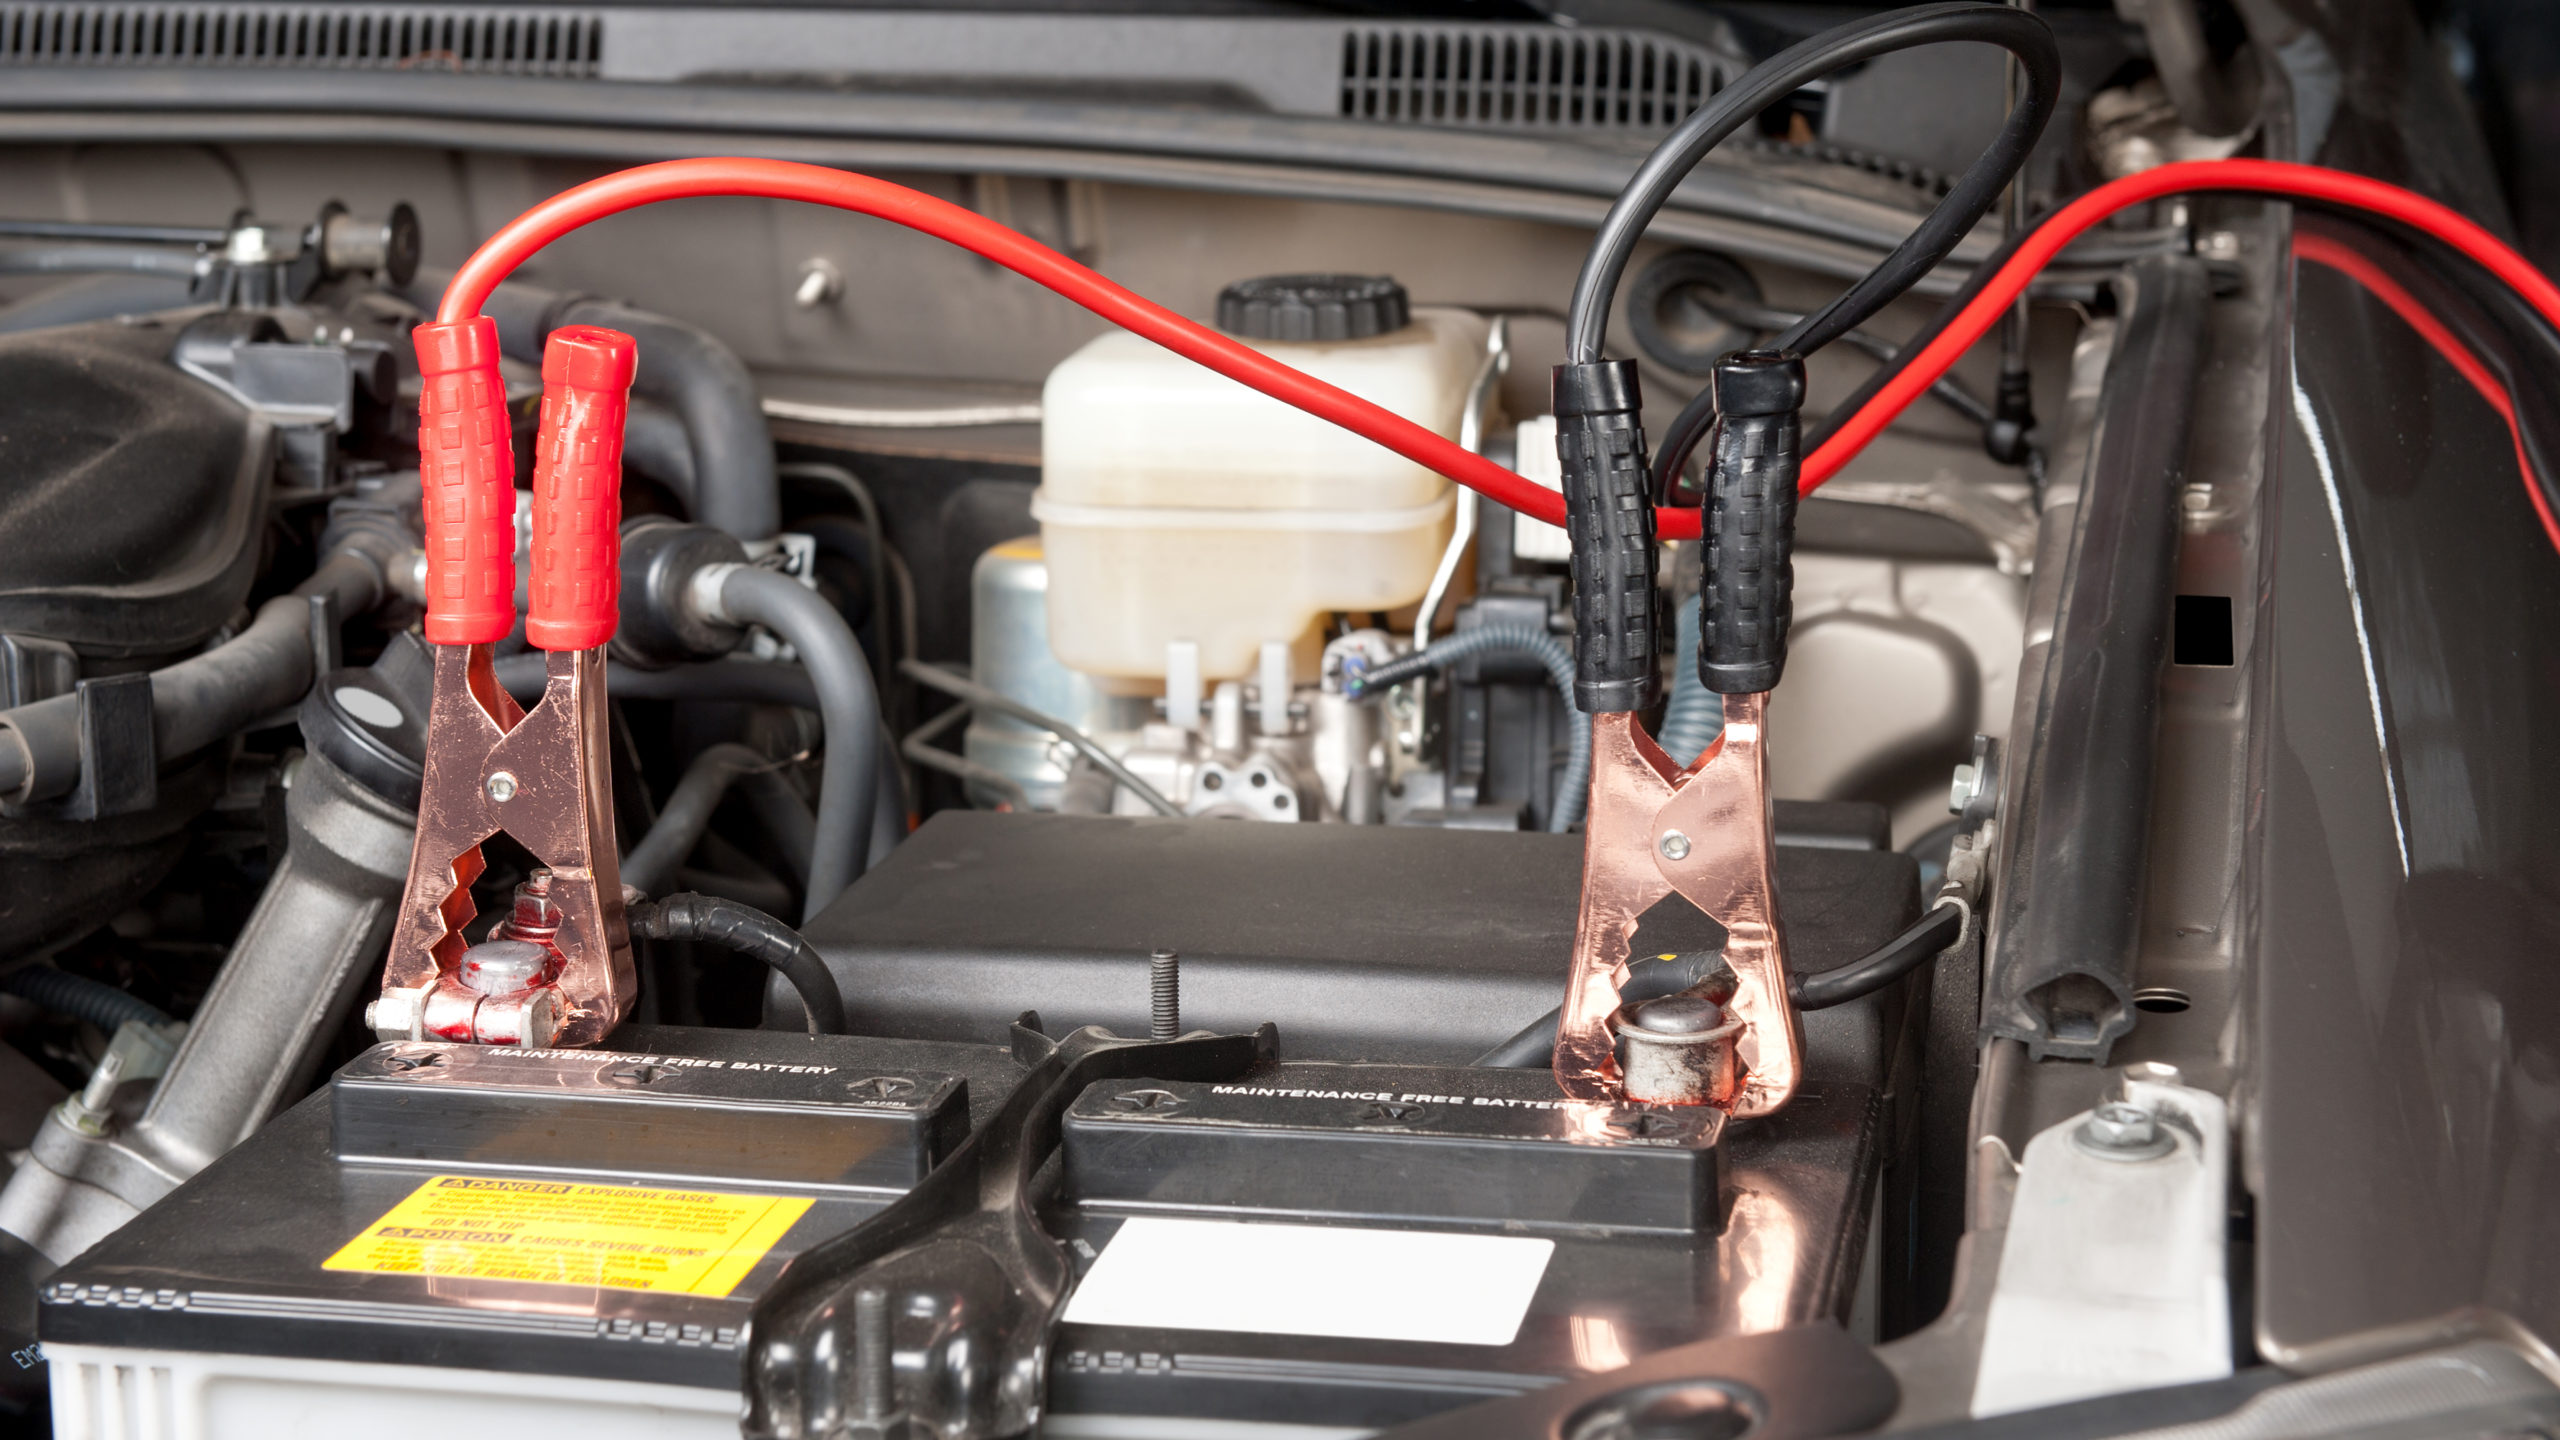
Jumper cables are specially designed electrical cables used to transfer energy from a working vehicle's battery to a dead one. These cables typically come in pairs, with red and black clamps that connect to the positive and negative terminals of a car battery. Understanding how jumper cables function is the first step in mastering their use.
When a car battery dies, it often means there isn't enough power to start the engine. Jumper cables provide a temporary solution by delivering the necessary electrical charge to get the vehicle running again. This is especially useful in emergencies when you don't have access to professional roadside assistance.
It's important to note that jumper cables come in various sizes and lengths. The gauge (thickness) of the cable affects its ability to transfer power. For most cars, a 6-gauge or 8-gauge cable is sufficient, but larger vehicles may require thicker cables for optimal performance.
Key Features of Jumper Cables
- Red and black clamps for easy identification of polarity.
- Varying lengths to accommodate different vehicle setups.
- Different gauges to suit specific power needs.
- Insulated handles for safety and durability.
Safety First: Preparing to Use Jumper Cables
Safety should always be your top priority when using jumper cables. Mishandling these tools can lead to serious accidents, including electrical shocks, battery explosions, or damage to your vehicle's electrical system. Follow these safety tips to ensure a secure jump-starting process:
Essential Safety Precautions
- Wear protective gloves and goggles to shield yourself from potential hazards.
- Ensure both vehicles are turned off before connecting the cables.
- Avoid smoking or using open flames near the batteries.
- Keep the clamps from touching each other once they're connected to the batteries.
- Position the vehicles close enough for the cables to reach but not touching.
By adhering to these guidelines, you minimize the risk of accidents and ensure a smooth jump-starting experience.
Step-by-Step Process to Use Jumper Cables
Now that you understand the basics and safety measures, let's dive into the step-by-step process of using jumper cables:
Read also:Unveiling The World Of Strawberry Milk Mob Your Ultimate Guide
Step 1: Park the Vehicles
Position the working vehicle close enough to the one with the dead battery so the jumper cables can reach both batteries. Ensure both cars are turned off, and the parking brakes are engaged.
Step 2: Identify the Battery Terminals
Locate the positive (+) and negative (-) terminals on both batteries. The positive terminal is usually marked with a red cap, while the negative terminal has a black cap.
Step 3: Connect the Cables
- Attach one end of the red clamp to the positive terminal of the dead battery.
- Connect the other red clamp to the positive terminal of the working battery.
- Attach one end of the black clamp to the negative terminal of the working battery.
- Connect the other black clamp to an unpainted metal surface on the dead vehicle's engine block, away from the battery.
Step 4: Start the Vehicles
Start the working vehicle first and let it run for a few minutes. Then, attempt to start the vehicle with the dead battery. If it doesn't start, allow the working vehicle to charge the dead battery for a few more minutes before trying again.
Common Mistakes to Avoid
Even with the best intentions, mistakes can happen when using jumper cables. Here are some common errors to avoid:
- Reversing the polarity of the clamps, which can cause electrical damage.
- Touching the clamps together while connected to the batteries.
- Not ensuring a secure connection between the clamps and the battery terminals.
- Forgetting to turn off both vehicles before connecting the cables.
Avoiding these mistakes will help you achieve a successful jump-start without complications.
Troubleshooting Tips
Despite following the correct procedure, issues can still arise. Here are some troubleshooting tips to help you overcome common problems:
Issue: The Car Won't Start After Jumping
If the car still won't start after jump-starting, the battery might be beyond repair. Consider replacing it or consulting a professional mechanic for further diagnosis.
Issue: The Cables Heat Up
Heating cables indicate excessive current flow, possibly due to a bad connection or faulty battery. Disconnect the cables immediately and inspect the setup.
Frequently Asked Questions
Q1: Can I use jumper cables on any type of vehicle?
Most jumper cables are designed for standard gasoline and diesel vehicles. However, electric or hybrid vehicles may require specialized equipment. Always check the manufacturer's guidelines for your specific vehicle.
Q2: How long should I let the car run after a jump-start?
Allow the car to run for at least 20-30 minutes to fully recharge the battery. Avoid turning off the engine immediately after starting, as this may drain the battery again.
Variations of Jumper Cables
While traditional jumper cables remain the most common, several variations cater to specific needs:
Portable Jump Starters
Portable jump starters are compact devices that eliminate the need for a second vehicle. They store electrical energy and can jump-start a car multiple times before needing a recharge.
Smart Jumper Cables
Equipped with advanced features like reverse polarity protection and automatic shut-off, smart jumper cables enhance safety and convenience.
Alternatives to Jumper Cables
Although jumper cables are the go-to solution, other options exist:
- Battery chargers: Ideal for situations where you have time to charge the battery fully.
- Push-starting: Suitable for manual transmission vehicles, though it requires assistance from others.
- Roadside assistance services: A reliable option if you're unable to perform the jump-start yourself.
Maintenance Tips for Jumper Cables
To ensure your jumper cables remain effective, follow these maintenance tips:
- Regularly inspect the cables for signs of wear or damage.
- Store the cables in a dry, cool place to prevent corrosion.
- Keep the clamps clean and free of dirt or grease.
Proper care extends the lifespan of your jumper cables and ensures they function correctly when needed most.
Conclusion
Knowing how to use jumper cables is an invaluable skill for every driver. By following the steps outlined in this guide, you can safely and effectively jump-start a vehicle in no time. Remember to prioritize safety, avoid common mistakes, and maintain your jumper cables properly for optimal performance.
We encourage you to share this article with friends and family who might benefit from this knowledge. For more automotive tips and tricks, explore our other articles and stay informed. Don't forget to leave a comment below with your thoughts or questions!