Butterfly to draw is a fascinating and rewarding artistic endeavor that appeals to both beginners and seasoned artists alike. Whether you're looking to enhance your sketching skills or simply enjoy the beauty of butterflies, this guide will take you on a journey through the process of creating stunning butterfly illustrations. From understanding their anatomy to adding intricate details, we'll cover everything you need to know.
Butterflies are not just beautiful creatures; they are also an excellent subject for artistic exploration. Their delicate wings and vibrant colors make them a popular choice for artists who want to experiment with symmetry, patterns, and textures. By mastering the art of drawing butterflies, you can bring these enchanting creatures to life on paper.
In this article, we will explore the essential techniques and tips for drawing butterflies. From understanding their anatomy to mastering shading and coloring, you'll learn how to create realistic and captivating butterfly illustrations. So, let's dive into the world of butterflies and unleash your creativity!
Read also:Grace Charis Leaks Unveiling The Truth Facts And Controversies
Table of Contents
- Understanding Butterfly Anatomy
- Tools and Materials You Need
- Basic Sketching Techniques
- Step-by-Step Guide to Drawing Butterflies
- Adding Intricate Details
- Shading and Coloring Techniques
- Exploring Different Butterfly Variations
- Using Digital Tools for Butterfly Art
- Finding Inspiration and References
- Final Tips for Butterfly Artists
Understanding Butterfly Anatomy
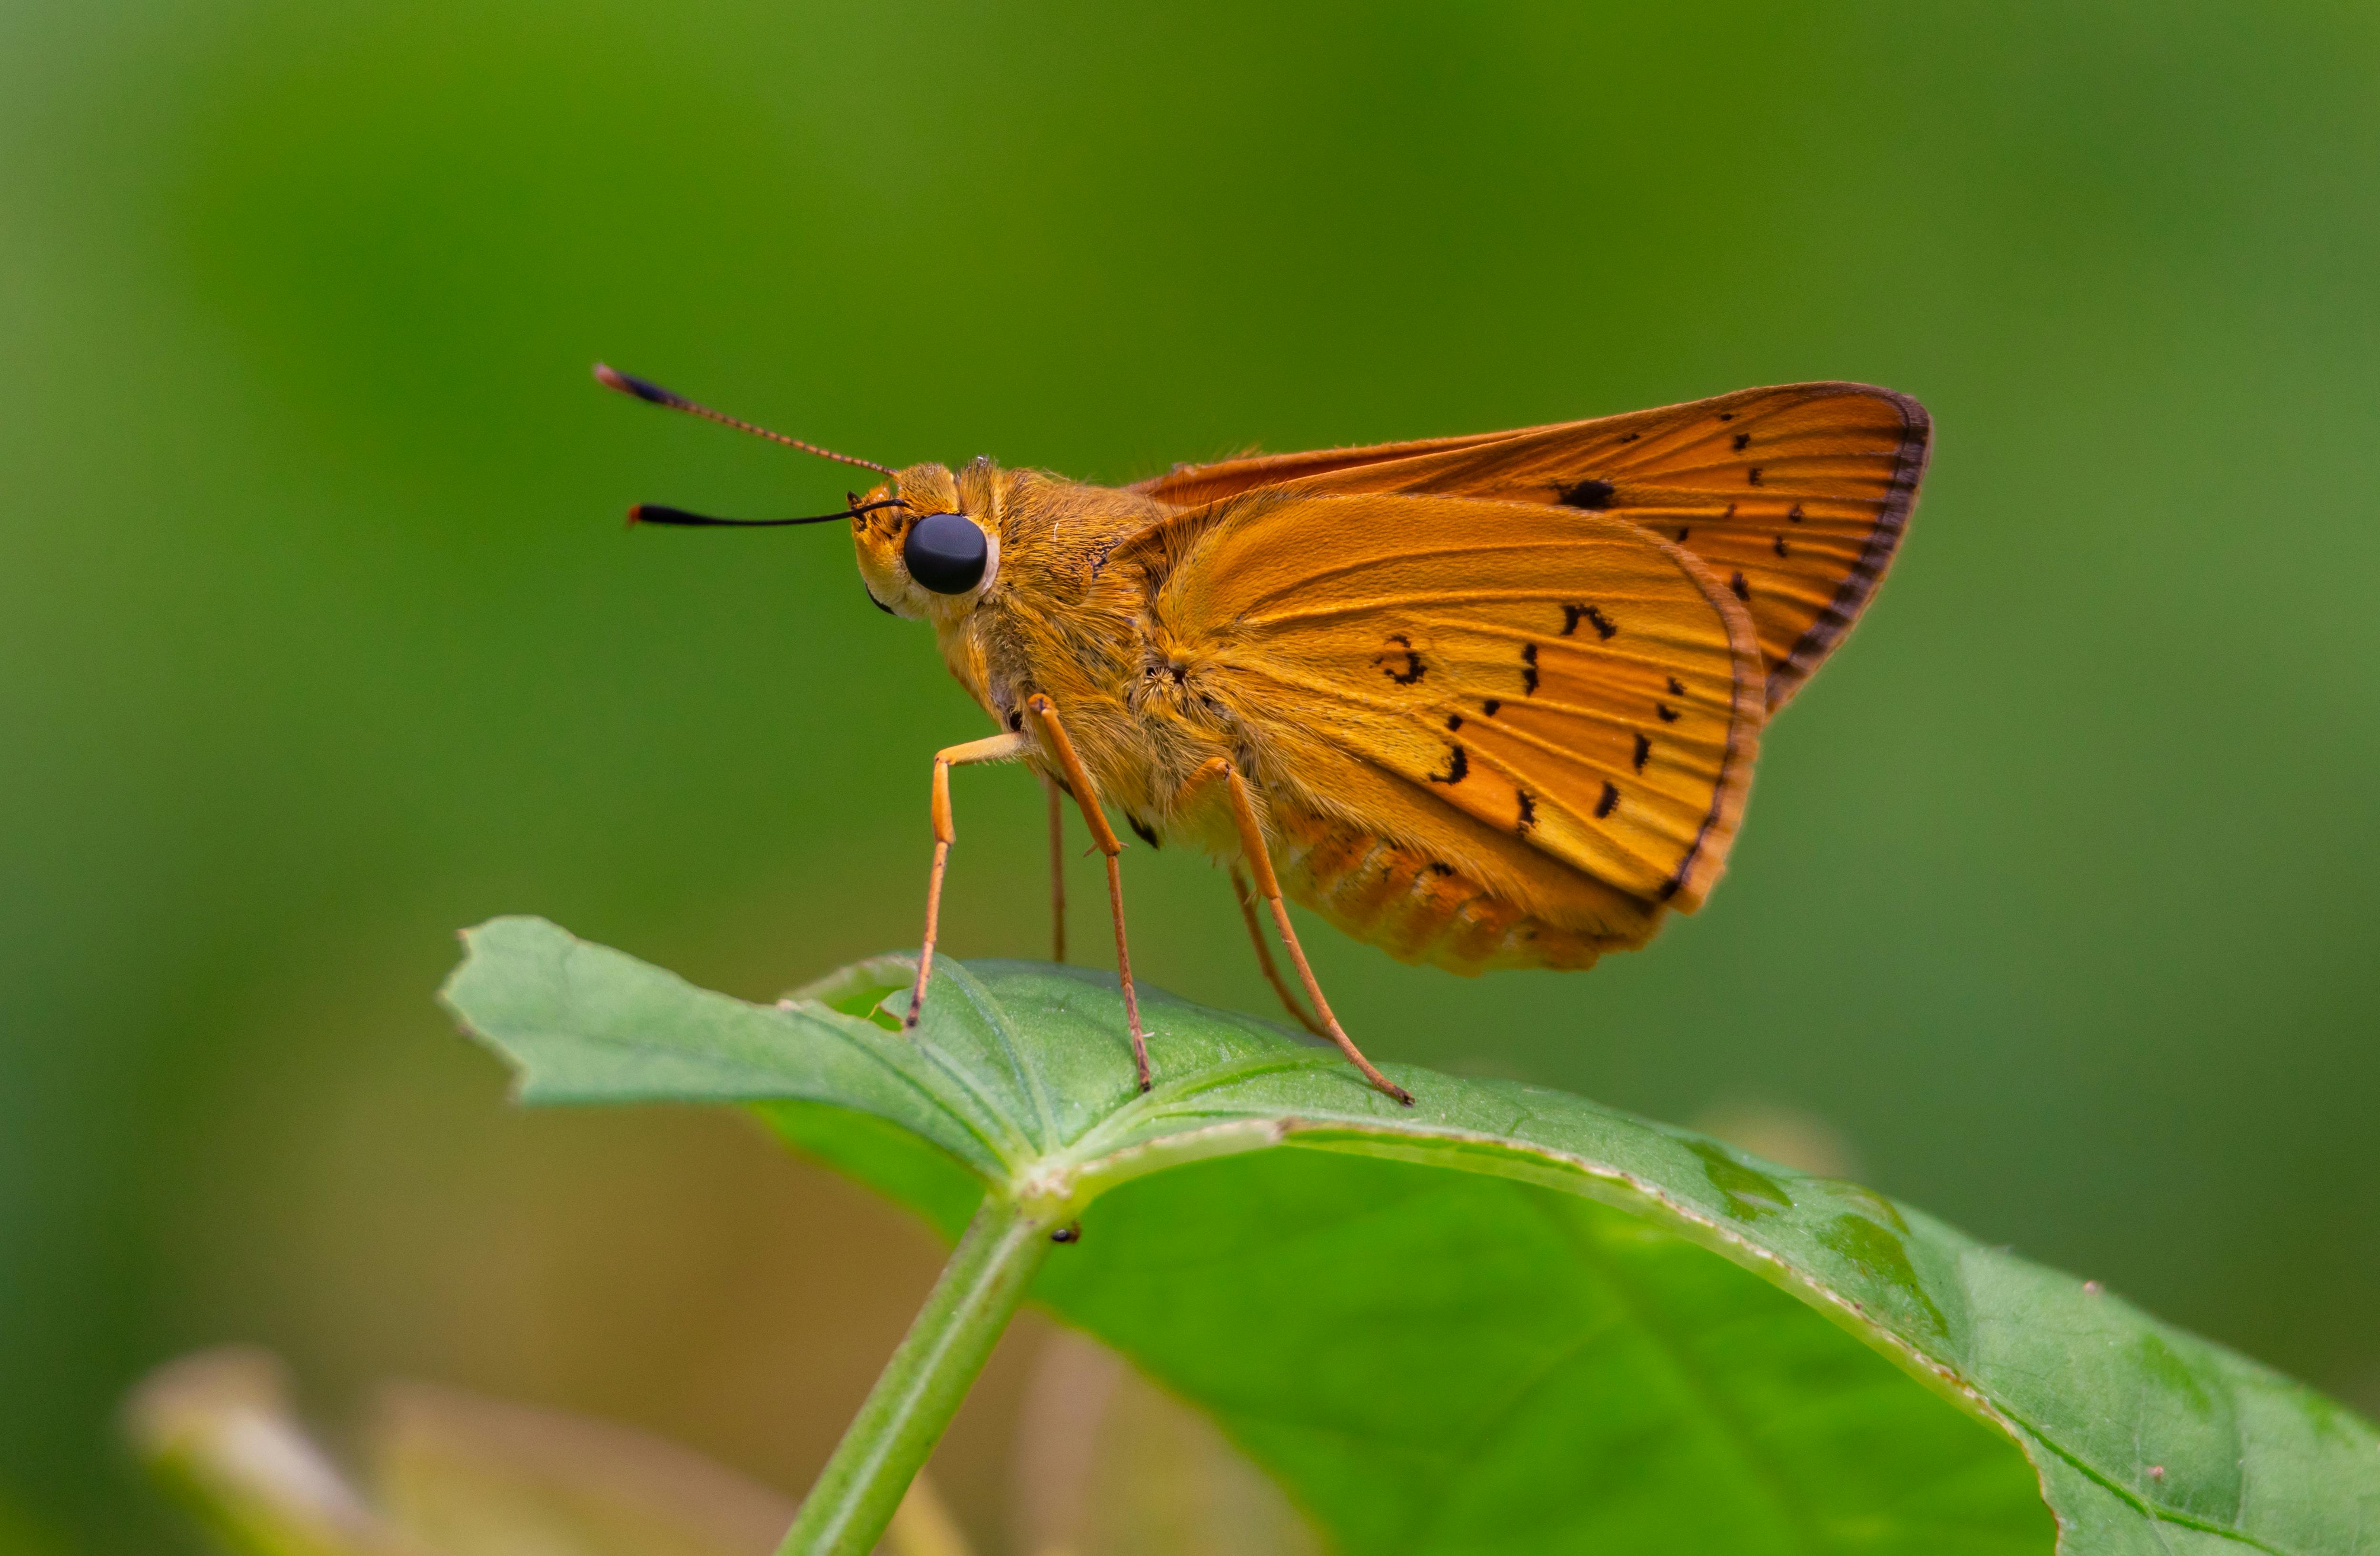
To create realistic butterfly drawings, it's essential to understand their anatomy. Butterflies have a unique structure that includes a head, thorax, abdomen, and wings. Their wings are the most distinctive feature and often carry intricate patterns that make each species unique.
Key Components:
- Head: Contains the eyes, antennae, and proboscis.
- Thorax: The central part of the body where the wings and legs are attached.
- Abdomen: The elongated rear section of the butterfly.
- Wings: The most prominent feature, consisting of forewings and hindwings.
By studying the proportions and structure of these components, you'll be able to create more accurate and lifelike butterfly drawings.
Why Understanding Anatomy Matters
Knowing the anatomy of a butterfly allows you to draw with precision and confidence. It helps you understand how different parts of the butterfly relate to one another, ensuring that your drawings look natural and balanced. This knowledge is crucial for creating both simple sketches and highly detailed illustrations.
Tools and Materials You Need
Before you start drawing butterflies, it's important to gather the right tools and materials. The quality of your tools can significantly impact the outcome of your artwork. Here's a list of essential items you'll need:
- Pencils (various grades, such as HB, 2B, and 4B)
- Eraser (kneaded and regular)
- Sketchbook or drawing paper
- Colored pencils or markers
- Fine-tip pens for outlining
For digital artists, consider using a graphics tablet and software like Adobe Illustrator or Procreate for creating butterfly illustrations.
Read also:Livvy Dunne Naked Understanding The Controversy And Setting The Record Straight
Basic Sketching Techniques
Once you have your tools ready, it's time to start sketching. Begin with basic shapes to establish the structure of your butterfly. This foundational step will help you maintain symmetry and proportion in your drawing.
Steps to Follow:
- Draw an oval for the body.
- Sketch two large ovals for the wings.
- Add smaller ovals for the wing details.
- Refine the shapes into a more realistic butterfly outline.
Remember, the key to successful sketching is to start with light, loose lines that you can easily adjust as you go.
Practicing Symmetry
Butterflies are known for their symmetrical wings, so practicing symmetry is crucial. Use a light grid or folding technique to ensure both sides of your butterfly are evenly proportioned. This will help you achieve a balanced and realistic drawing.
Step-by-Step Guide to Drawing Butterflies
Now that you have a basic understanding of butterfly anatomy and sketching techniques, let's dive into a step-by-step guide for drawing butterflies:
- Start with the body: Draw an elongated oval for the abdomen and a smaller circle for the thorax.
- Add the head: Sketch a small circle at the top of the thorax and include antennae.
- Create the wings: Draw two large ovals for the forewings and two smaller ovals for the hindwings.
- Refine the wings: Add curves and angles to give the wings a more natural shape.
- Detail the wings: Incorporate patterns and textures to make your butterfly unique.
- Finalize the drawing: Outline your sketch and erase any unnecessary lines.
This step-by-step process will help you create a beautiful butterfly drawing from start to finish.
Adding Intricate Details
One of the most exciting parts of drawing butterflies is adding intricate details to their wings. Butterflies are known for their vibrant patterns and textures, so take your time to create these elements in your artwork.
Tips for Adding Details:
- Study real butterfly wings for inspiration.
- Use a fine-tip pen to draw precise patterns.
- Experiment with different shapes and sizes for the wing patterns.
- Consider the symmetry of the patterns on both wings.
These details will bring your butterfly to life and make your drawing stand out.
Creating Realistic Patterns
To create realistic patterns, observe photographs of real butterflies. Pay attention to the colors, shapes, and arrangement of the patterns. This will help you replicate the beauty of nature in your artwork.
Shading and Coloring Techniques
Shading and coloring are essential for adding depth and dimension to your butterfly drawings. Whether you're using pencils, markers, or digital tools, there are several techniques you can use to enhance your artwork.
Shading Techniques:
- Hatching: Use parallel lines to create shading.
- Cross-hatching: Combine hatching lines in different directions for deeper shading.
- Stippling: Use small dots to create texture and shading.
Coloring Techniques:
- Layer colors to create depth and vibrancy.
- Blend colors smoothly for a seamless transition.
- Use highlights to emphasize certain areas of the wings.
By mastering these techniques, you'll be able to create stunning butterfly illustrations that capture their natural beauty.
Choosing the Right Colors
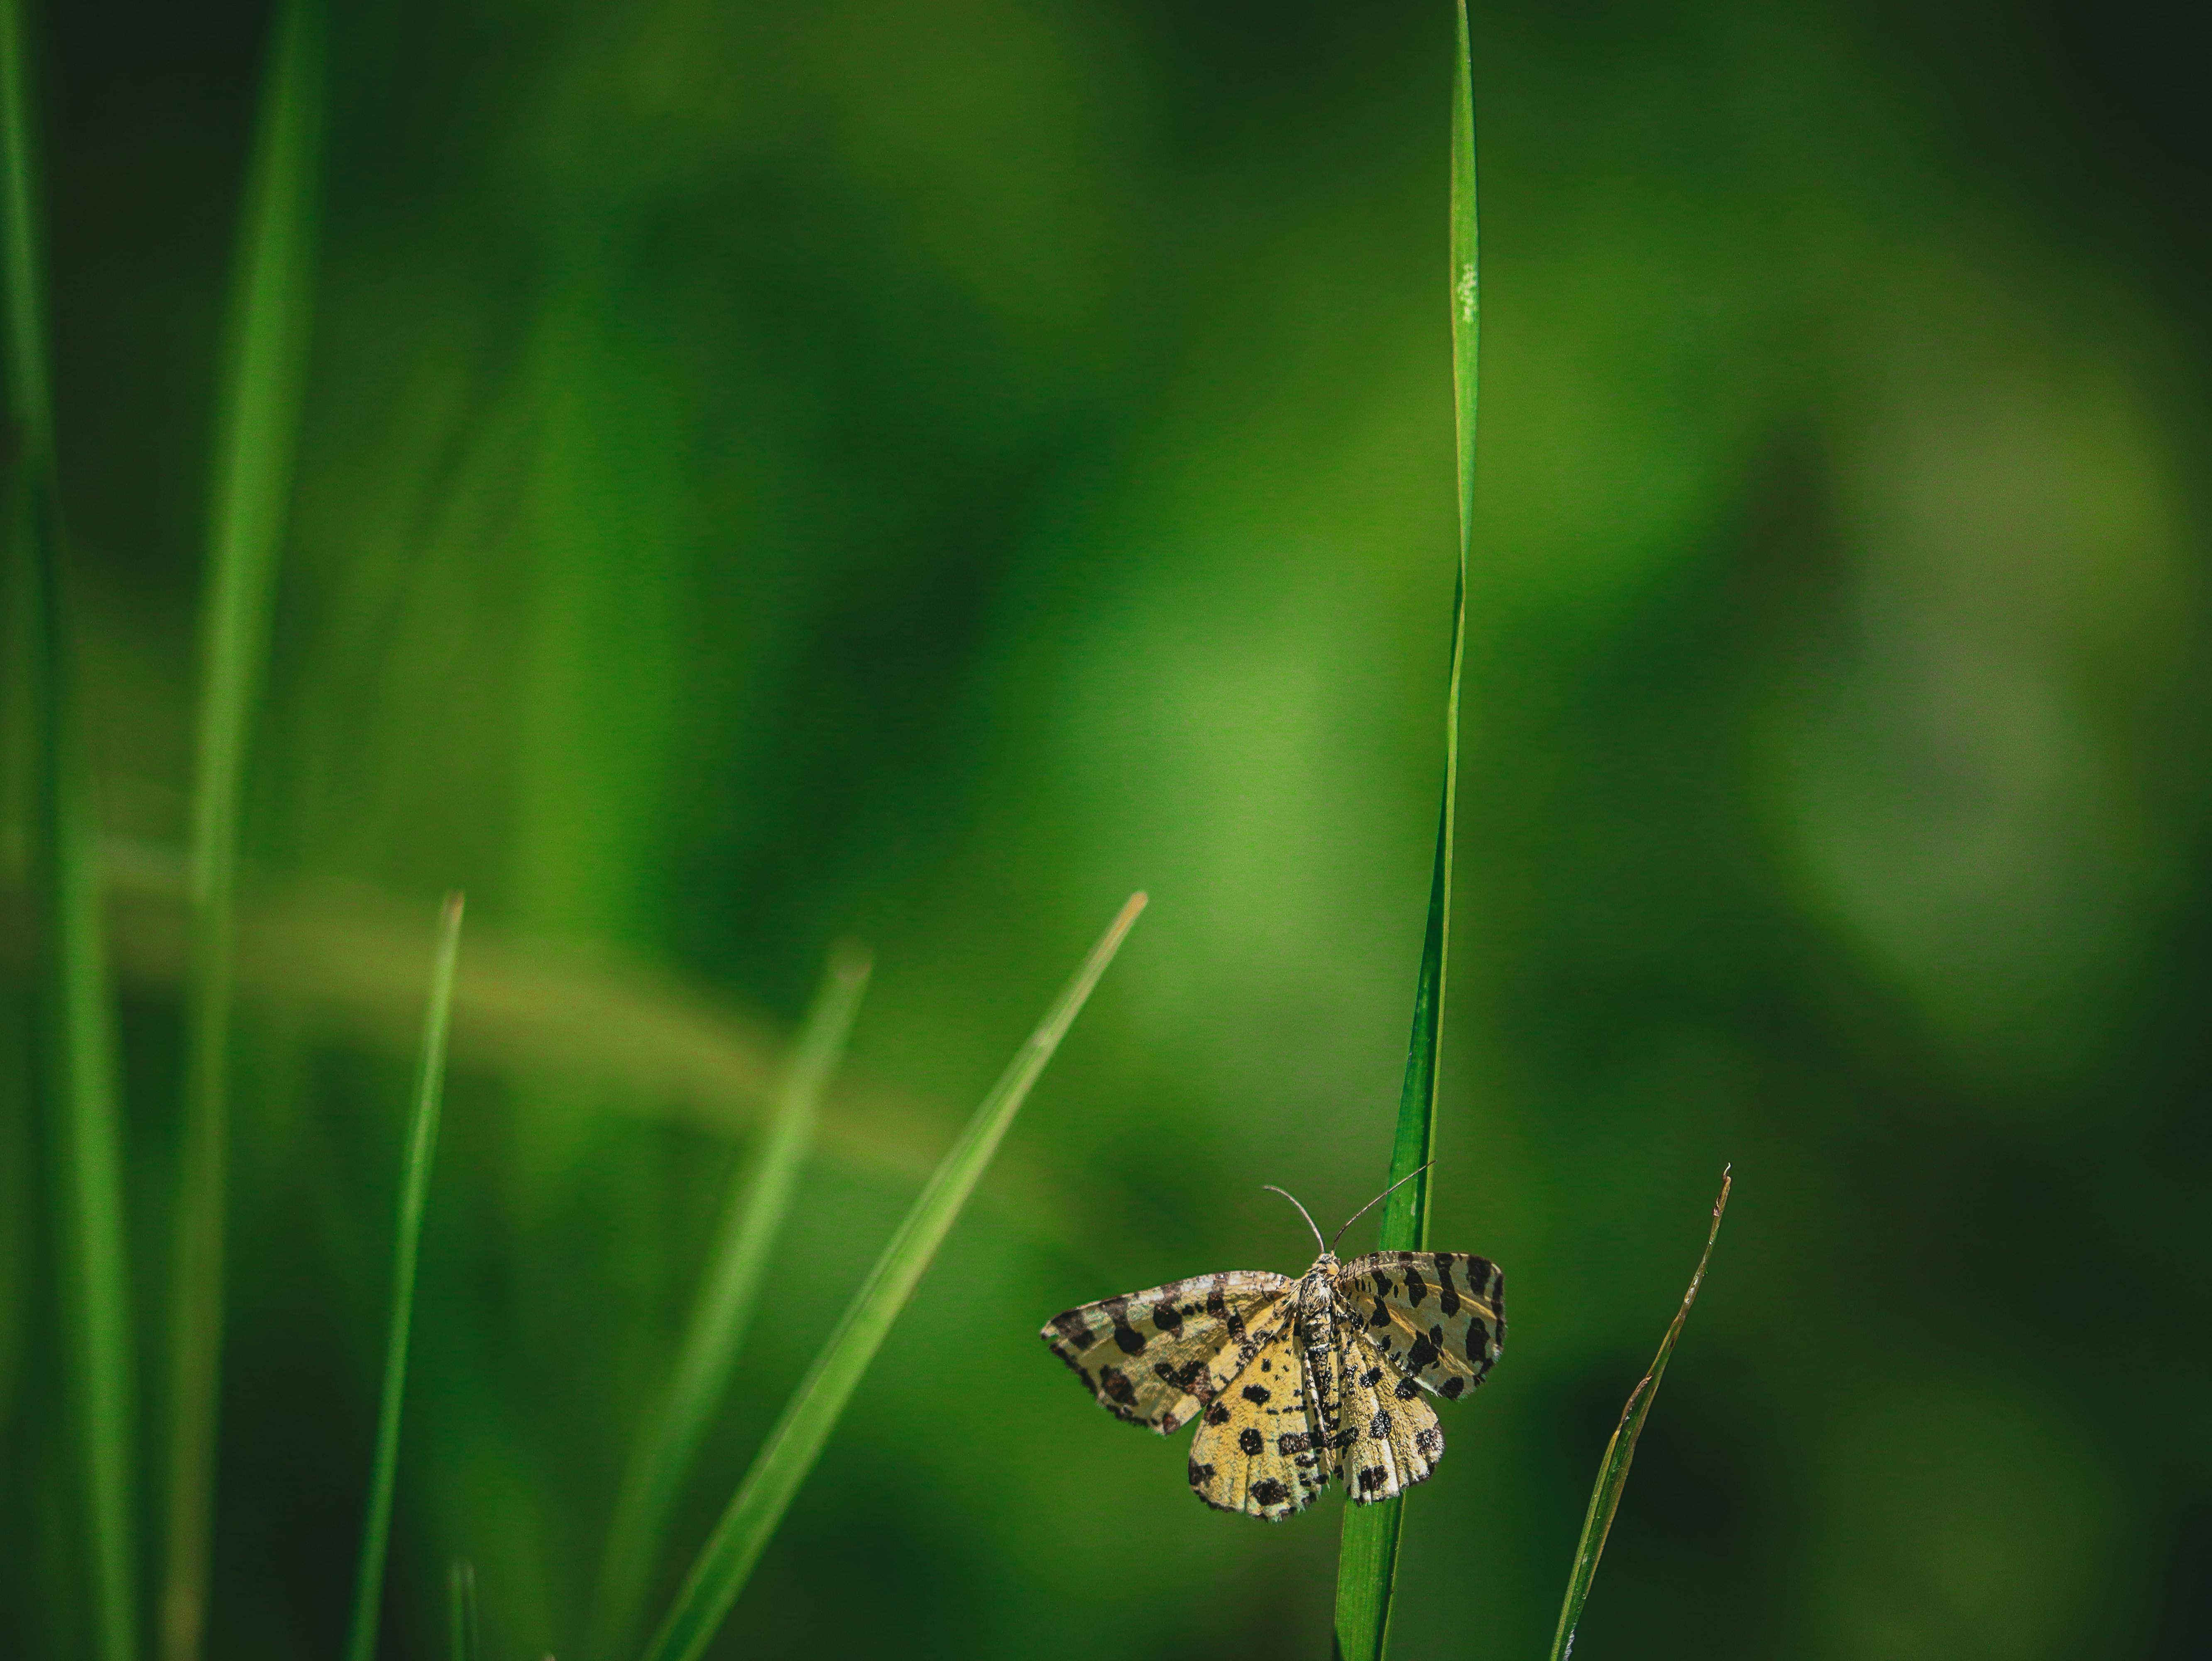
Butterflies come in a wide range of colors, so it's important to choose the right palette for your drawing. Research the species you're drawing to ensure accuracy in your color choices. For example, monarch butterflies have bold orange and black patterns, while blue morpho butterflies have striking iridescent blue wings.
Exploring Different Butterfly Variations
Butterflies are incredibly diverse, with thousands of species around the world. Each species has its own unique characteristics, making them a rich source of inspiration for artists. By exploring different butterfly variations, you can expand your creativity and improve your skills.
Popular Butterfly Species:
- Monarch Butterfly
- Blue Morpho Butterfly
- Swallowtail Butterfly
- Painted Lady Butterfly
Experiment with drawing different species to discover new techniques and styles.
Learning from Nature
Observing butterflies in their natural habitat can provide valuable insights for your artwork. Pay attention to their behavior, movement, and interaction with the environment. This will help you create more dynamic and lifelike drawings.
Using Digital Tools for Butterfly Art
For artists who prefer digital mediums, there are numerous tools and software available for creating butterfly art. Digital tools offer flexibility and precision, allowing you to experiment with colors, textures, and effects.
Popular Digital Tools:
- Adobe Illustrator
- Procreate
- CorelDRAW
- Krita
These programs provide a wide range of features for creating professional-quality butterfly illustrations.
Advantages of Digital Art
Digital art offers several advantages, including the ability to easily edit and refine your work. You can also experiment with different styles and techniques without the fear of making irreversible mistakes. This makes digital tools an excellent choice for both beginners and experienced artists.
Finding Inspiration and References
Whether you're drawing butterflies for fun or as part of a project, finding inspiration is key to creating outstanding artwork. Look for references in nature, books, and online resources to fuel your creativity.
Where to Find Inspiration:
- Visit butterfly gardens or nature reserves.
- Explore art books and magazines for butterfly illustrations.
- Search online for high-quality butterfly images.
By surrounding yourself with inspiration, you'll be able to create artwork that is both unique and captivating.
Building a Reference Library
Create a digital or physical reference library of butterfly images and drawings. This will serve as a valuable resource for future projects and help you improve your skills over time.
Final Tips for Butterfly Artists
Now that you've learned the basics of drawing butterflies, here are some final tips to keep in mind:
- Practice regularly to improve your skills.
- Experiment with different techniques and styles.
- Seek feedback from other artists to refine your work.
- Stay inspired by exploring new references and ideas.
Remember, the journey of mastering butterfly drawing is a continuous process. Embrace the challenges and enjoy the process of creating beautiful artwork.
Call to Action
We hope this guide has provided you with valuable insights and techniques for drawing butterflies. Share your artwork with us by leaving a comment or tagging us on social media. Don't forget to explore other articles on our site for more artistic inspiration!