Looking for a healthier and more sustainable way to install hair extensions? Using gel instead of glue is a fantastic alternative that offers numerous benefits for your hair and scalp. In this article, we will explore the step-by-step process of installing hair extensions with gel and provide you with all the information you need to achieve stunning results.
Hair extensions have become increasingly popular as a way to enhance length, volume, and style. However, traditional methods such as gluing can sometimes cause damage to your natural hair. That's why learning how to install hair extensions using gel instead of glue is essential for maintaining healthy hair while achieving your desired look.
This guide will cover everything from the tools and materials you need to the step-by-step instructions for a flawless application. Whether you're a professional hairstylist or a DIY enthusiast, you'll find this article informative and helpful in mastering the art of gel-based hair extension installation.
Read also:Steve Burns The Iconic Host Of Blues Clues And Beyond
Table of Contents
- Introduction to Gel-Based Hair Extensions
- Benefits of Using Gel Instead of Glue
- Tools and Materials You Need
- Preparing Your Hair for Installation
- Step-by-Step Application Process
- How to Care for Gel-Based Hair Extensions
- Removing Gel-Based Hair Extensions
- Comparison with Traditional Methods
- Tips for a Successful Application
- Frequently Asked Questions
Introduction to Gel-Based Hair Extensions
Gel-based hair extensions have gained significant traction in the beauty industry due to their effectiveness and gentleness on natural hair. Unlike traditional glue, which can be harsh and damaging, gel provides a secure hold without compromising the health of your scalp and hair.
Why Choose Gel Over Glue?
There are several reasons why professionals and individuals are turning to gel for hair extension installation:
- Gel is less likely to cause irritation or allergic reactions.
- It offers a more natural look compared to glue-based methods.
- Gel is easier to remove, reducing the risk of hair breakage during the removal process.
Benefits of Using Gel Instead of Glue
Switching to gel for your hair extension installation comes with numerous advantages:
- Healthier Hair: Gel minimizes damage to your natural hair, ensuring it remains strong and healthy.
- Long-Lasting Results: Gel bonds provide a secure hold that lasts for weeks, making them ideal for long-term wear.
- Customizable: Gel can be applied in various ways, allowing for flexibility in styling and design.
Tools and Materials You Need
Before you begin the installation process, it's essential to gather all the necessary tools and materials. Here's what you'll need:
Key Tools and Supplies
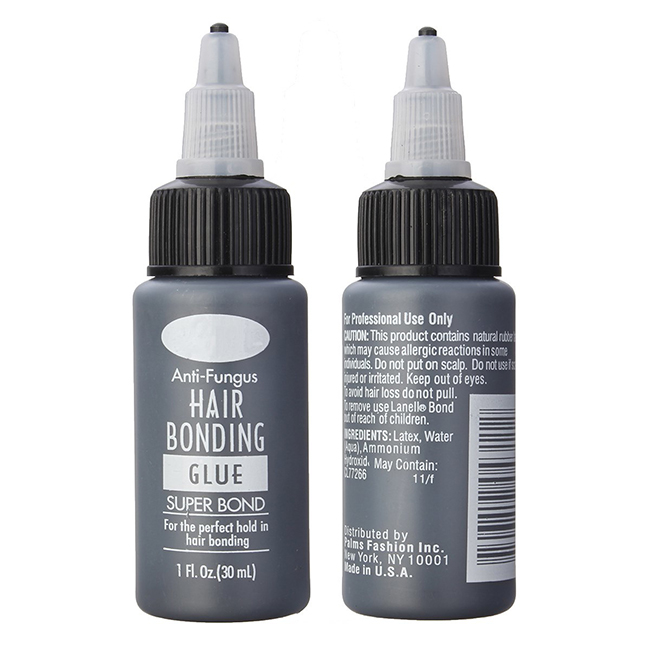
- Gel adhesive specifically designed for hair extensions.
- Hair extension pieces or wefts.
- A fine-tooth comb for sectioning hair.
- A small applicator or brush for applying the gel.
- Protective gloves to avoid skin contact with the gel.
Preparing Your Hair for Installation
Proper preparation is crucial to ensure a successful application. Follow these steps to get your hair ready:
Step-by-Step Preparation Guide
Wash and dry your hair thoroughly to remove any dirt or product buildup.
Read also:
- Charlotte Flair A Comprehensive Look At Her Career And Misunderstood Controversies
Section your hair into manageable parts using a fine-tooth comb.
Ensure your hair is completely dry before proceeding with the installation.
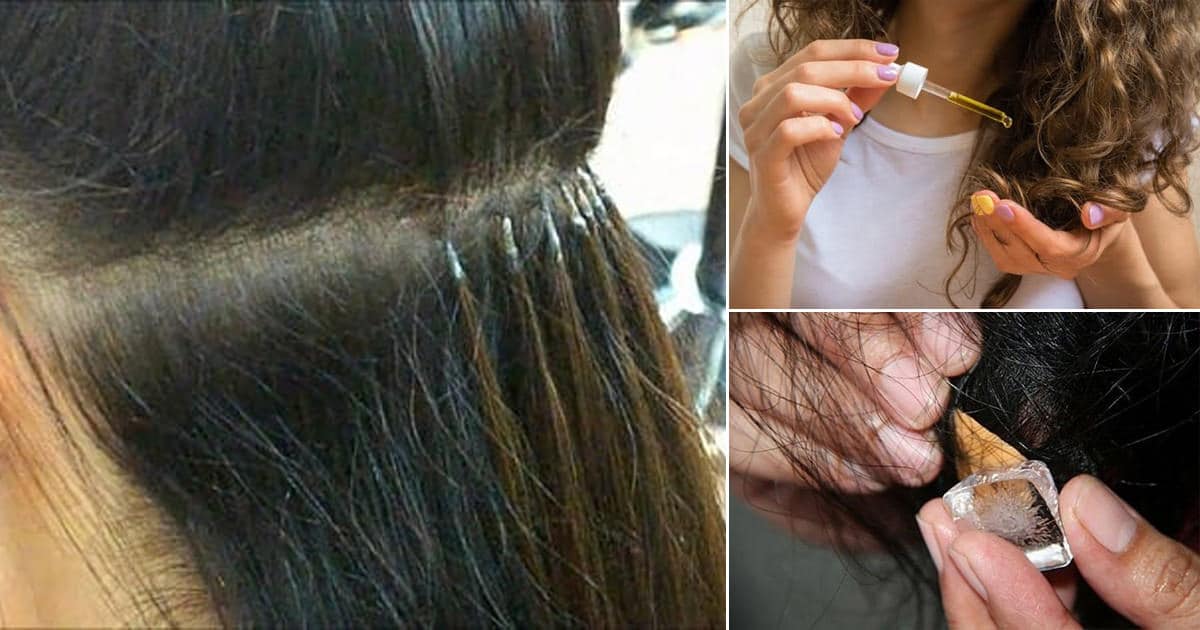
Step-by-Step Application Process
Now that your hair is prepared, it's time to start the application process. Follow these detailed steps for a flawless installation:
Step 1: Apply the Gel
Using the applicator or brush, carefully apply a small amount of gel to the base of the hair extension piece.
Step 2: Attach the Extension
Press the gel-coated extension onto your natural hair, ensuring a secure bond. Hold it in place for a few seconds to allow the gel to set.
Step 3: Repeat
Continue applying the gel and attaching extensions until you achieve your desired look. Be sure to work in small sections for precision.
How to Care for Gel-Based Hair Extensions
Proper maintenance is essential to prolong the life of your gel-based hair extensions. Here are some care tips:
Care Routine
- Avoid using harsh chemicals or heat styling tools that could weaken the gel bond.
- Gently brush your extensions to prevent tangling.
- Regularly inspect the bonds and reapply gel if necessary.
Removing Gel-Based Hair Extensions
When it's time to remove your extensions, follow these steps to avoid damaging your natural hair:
Removal Steps
Use a gel remover solution specifically designed for hair extensions.
Gently massage the remover into the bond to loosen it.
Slowly and carefully remove the extension, ensuring you don't pull on your natural hair.
Comparison with Traditional Methods
Understanding the differences between gel-based and glue-based methods can help you make an informed decision:
Key Differences
- Adhesion: Gel provides a stronger and more flexible bond compared to glue.
- Removal: Gel is easier to remove, reducing the risk of damage during the process.
- Comfort: Gel is less likely to cause discomfort or irritation on the scalp.
Tips for a Successful Application
To ensure your gel-based hair extension application goes smoothly, consider the following tips:
Application Tips
- Practice on a small section of hair before committing to a full application.
- Work in a well-ventilated area to avoid inhaling fumes from the gel.
- Consult with a professional if you're unsure about any part of the process.
Frequently Asked Questions
Here are some common questions about installing hair extensions using gel:
Q: How long do gel-based hair extensions last?
A: With proper care, gel-based hair extensions can last up to 6-8 weeks before needing reapplication or removal.
Q: Can I use heat styling tools on gel-based extensions?
A: It's best to avoid high-heat tools as they can weaken the gel bond. Opt for low-heat settings if necessary.
Q: Is gel-based installation suitable for all hair types?
A: Yes, gel-based installation works well for most hair types, including fine, thick, and curly hair.
Conclusion
Learning how to install hair extensions using gel instead of glue opens up a world of possibilities for achieving stunning hairstyles while maintaining the health of your natural hair. By following the steps outlined in this guide, you can confidently apply gel-based extensions and enjoy their numerous benefits.
We encourage you to share your experience with gel-based hair extensions in the comments below. If you found this article helpful, don't hesitate to share it with your friends and family. For more beauty tips and tricks, explore our other articles on the site!